
How to Start Milling Your Own Flour at Home: Beginner-Friendly Guide
Is Everyone Milling Their Own Flour at Home Now? Here’s How to Start
Back in 2020, something strange and wonderful happened—everyone suddenly started baking sourdough. It was like the whole world woke up with the same idea at the same time. I hadn’t seen a reel about it (were those even on Instagram yet?) or heard an influencer mention it. No one around me was doing it, and I had already failed twice at making a gluten-free sourdough starter. But I got a wild hare to check my Pinterest board, found Phickle’s “Sourdough School” series, and decided to give it one last try.
It worked. That tiny success quickly became an obsession—and, for the first time in my life, I was doing something trendy without even realizing it.
Fast forward to 2025, and now milling your own flour at home feels like the new sourdough. It’s everywhere. If you’re thinking about how to start milling your own flour at home, for sourdough or regular yeasted bread—but you don’t know where to start, or whether it’s even worth the investment—you’re in the right place.
How I Ended Up With a Grain Mill
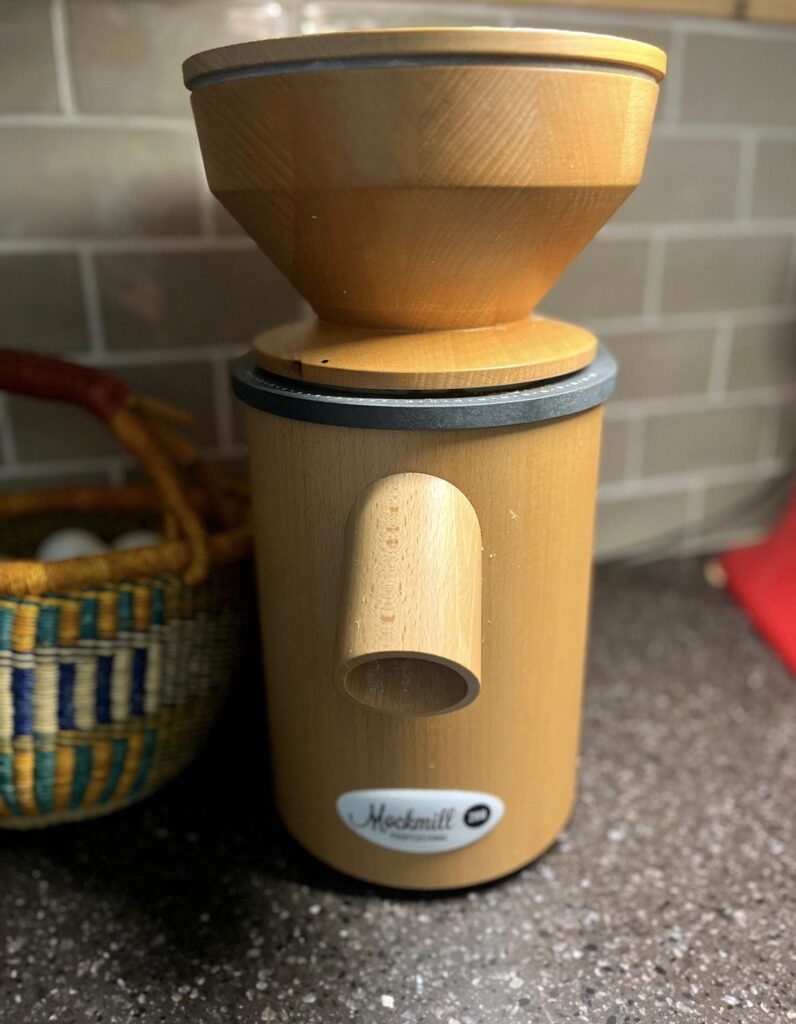
I accidentally bought a grain mill for myself this past Christmas. I’d been eyeing the Mockmill Pro after reading Lisa from Farmhouse on Boone’s comparison between that and the Nutrimill. I added it to my cart just to check the payment plan… and lo and behold, I hit “purchase now.”
Cam has since forgiven me—mainly because I can now make him any bread product he wants on demand. Grain mills are a big investment, though, so if you’re not ready to spend $200–$800+, let’s talk about where to start.
Beginner Grain Milling Options (Pros + Cons)
1. Vitamix or High-Speed Blender (Not Recommended)
You’ll see people talk about using a Vitamix or high-speed blender to grind grain because they already own one. I tried this while waiting for my first Azure Standard grain order to arrive—and I nearly burned out my motor. There was smoke, the flour was not evenly ground— I had a combo of large bits with powder fine flour all together, not usable for much. Not to mention the flour got way too hot from the blades heating up (this can cause nutrients to die off).
In short: not worth it.
2. Coffee Grinder – Budget-Friendly Starter Option (~$40–$50)
This coffee grinder is a great way to start milling grain at home without breaking the bank. It takes a little time to process a full batch, but the grind is surprisingly consistent and fine. If you want to test out milling your own flour before investing in a full mill, this is the route I’d recommend.
You could also look for a used grain mill on Facebook Marketplace or local buy/sell groups. You will find the best price on the wondermill in particular, I see them around $150-$200 often!
3. KitchenAid Attachment (~$130)
If you already own a KitchenAid, this attachment might seem like a good in-between step. But hear me out: it’s painfully slow, doesn’t get a truly fine grind, and for the price, I’d honestly recommend the coffee grinder instead.
If you’re spending $130, you’re close enough to the cost of a used WonderMill or Nutrimill, which will save you time and give you much better results. I’d skip the attachment and go straight for a dedicated mill if you can.
Try Fresh Milled Flour Before You Commit
If you’re still unsure about milling your own flour, consider trying some first. See if there’s a local mill near you or ask around in your community—you may have a friend who mills and would share a bag.
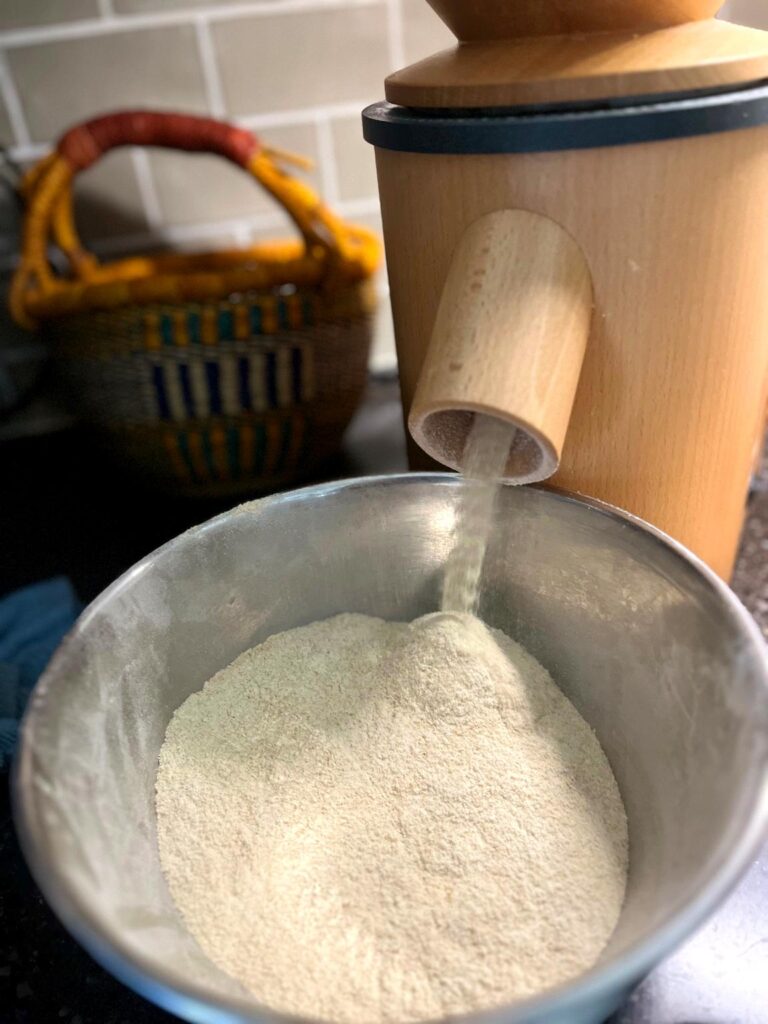
You’ll be amazed at the difference. Even compared to store-bought whole wheat flour, fresh milled flour is softer, more flavorful, and packed with nutrients. Commercial “whole wheat” flour is still sifted and processed to stay shelf-stable, so it’s not the same. Once you taste fresh flour, you’ll understand why so many bakers are making the switch.
What I Ultimately Recommend: My Top 3 Grain Mills
Here are the three mills I personally recommend—each at a different price point, depending on your needs and how much you bake.
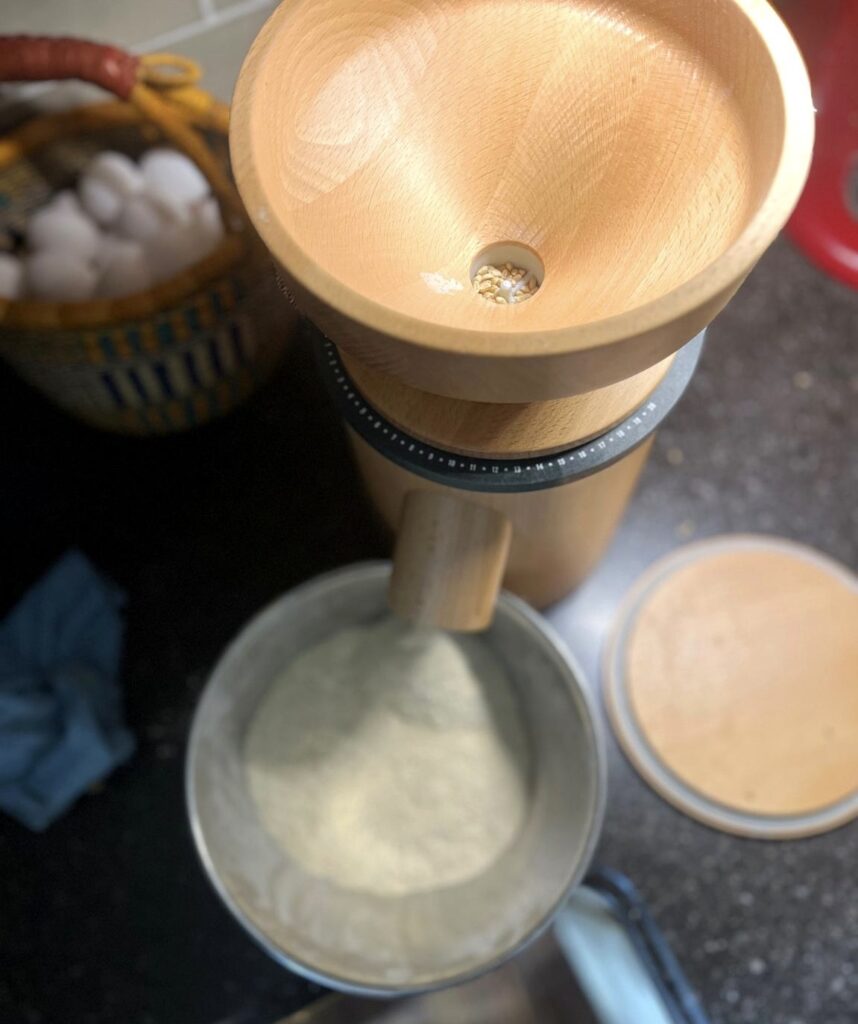
1. Mockmill Pro – Best for High Volume Use ($800+)
This is what I use, and I chose it because I bake a lot—daily bread for our family (around 10 loaves a week), plus occasional bake days for my old micro bakery. I go through about 125 pounds of grain a month, so I needed a heavy-duty motor, a long warranty, and something that could live on my countertop and still look nice.
The Mockmill Pro comes with a 12-year home warranty (or commercial warranty if needed), can run for longer periods, and is absolutely beautiful. It’s pricey, but for a high-volume home baker, it’s worth every penny.
2. WonderMill – Best Value High-Power Mill (~$350)
This is an impact mill (not a stone mill), so it runs fast, stays cooler, and is quieter. It’s large and not super pretty, so you probably won’t want to leave it out on your counter, but it’s efficient and reliable.
The WonderMill is a favorite of Sue Becker (aka the queen of fresh milled flour!), and it’s the most affordable high-quality electric mill I’d recommend. My only drawback is the plastic housing—but it’s a fantastic option overall.
3. Mockmill 100 – Best Budget-Friendly Stone Mill (~$350)
If we didn’t bake as much as we do, I probably would have gone this route. The Mockmill 100 gives you the same quality grind as the Pro at a smaller scale. It’s not the prettiest (though they offer a wooden “Lino” version that’s beautiful), but it’s perfect for small batch, everyday home use.
A great pick for anyone who wants the benefits of fresh milled flour without the bigger investment or commercial-level use.
Final Thoughts: Is Home Grain Milling Worth It?
Milling your own flour at home can feel overwhelming at first—but it’s so rewarding. You get better flavor, more nutrition, and full control over the grains you use (which can also help save money in the long run). Start small, experiment, and give yourself grace. Whether you’re milling for sourdough, sandwich bread, or pancakes—there’s nothing quite like baking with flour you ground yourself.
Helpful Resources for Getting Started Milling your own Flour at Home
- Favorite grains: Azure Standard— here you will find the best price because of how they ship, they have tons of variety, we love them. If you are close to a bread backers then that’s a great option too!
- My grain mill: Mockmill Pro
- Coffee grinder I recommend for beginners
- Learn more about milling at Bread Beckers

Are you milling your own flour already—or just curious to try? Drop your questions in the comments, or let me know which mill you’re thinking about! And if you found this helpful, save it on Pinterest.